Keycloak OIDC integration guide
Overview
This guide provides steps to integrate Keycloak with ID.me using the OpenID Connect (OIDC) protocol.
Intended audience
Developers and IAM administrators responsible for configuring federation between Keycloak and ID.me.
What you will build
A federated authentication flow where Keycloak delegates user authentication to ID.me.
Result
A federated OIDC authentication flow where Keycloak delegates authentication to ID.me, allowing users to sign in to a target application.
Identity proofing behavior
Authentication behavior, identity verification settings, and returned attributes are driven by ID.me policy configurations.
Authentication flow
The following steps outline the OIDC authentication flow between the user, Keycloak, and ID.me:
Prerequisites
- A running instance of Keycloak (Docker is recommended for easy installation)
- Administrator access to the Keycloak admin console
- An ID.me sandbox account for testing your integration
- Understanding of OIDC flows and terminology
Environments
ID.me provides two environments:
https://api.idmelabs.com/
https://api.id.me/
All ID.me OIDC and SAML endpoints are derived from the base URL above. For production, replace the sandbox base URL in every ID.me endpoint you configure.
Examples
- OIDC issuer (Sandbox):
https://api.idmelabs.com/oidc - OIDC issuer (Production):
https://api.id.me/oidc - SAML metadata URL (Sandbox):
https://api.idmelabs.com/saml/metadata - SAML metadata URL (Production):
https://api.id.me/saml/metadata
Configure Keycloak
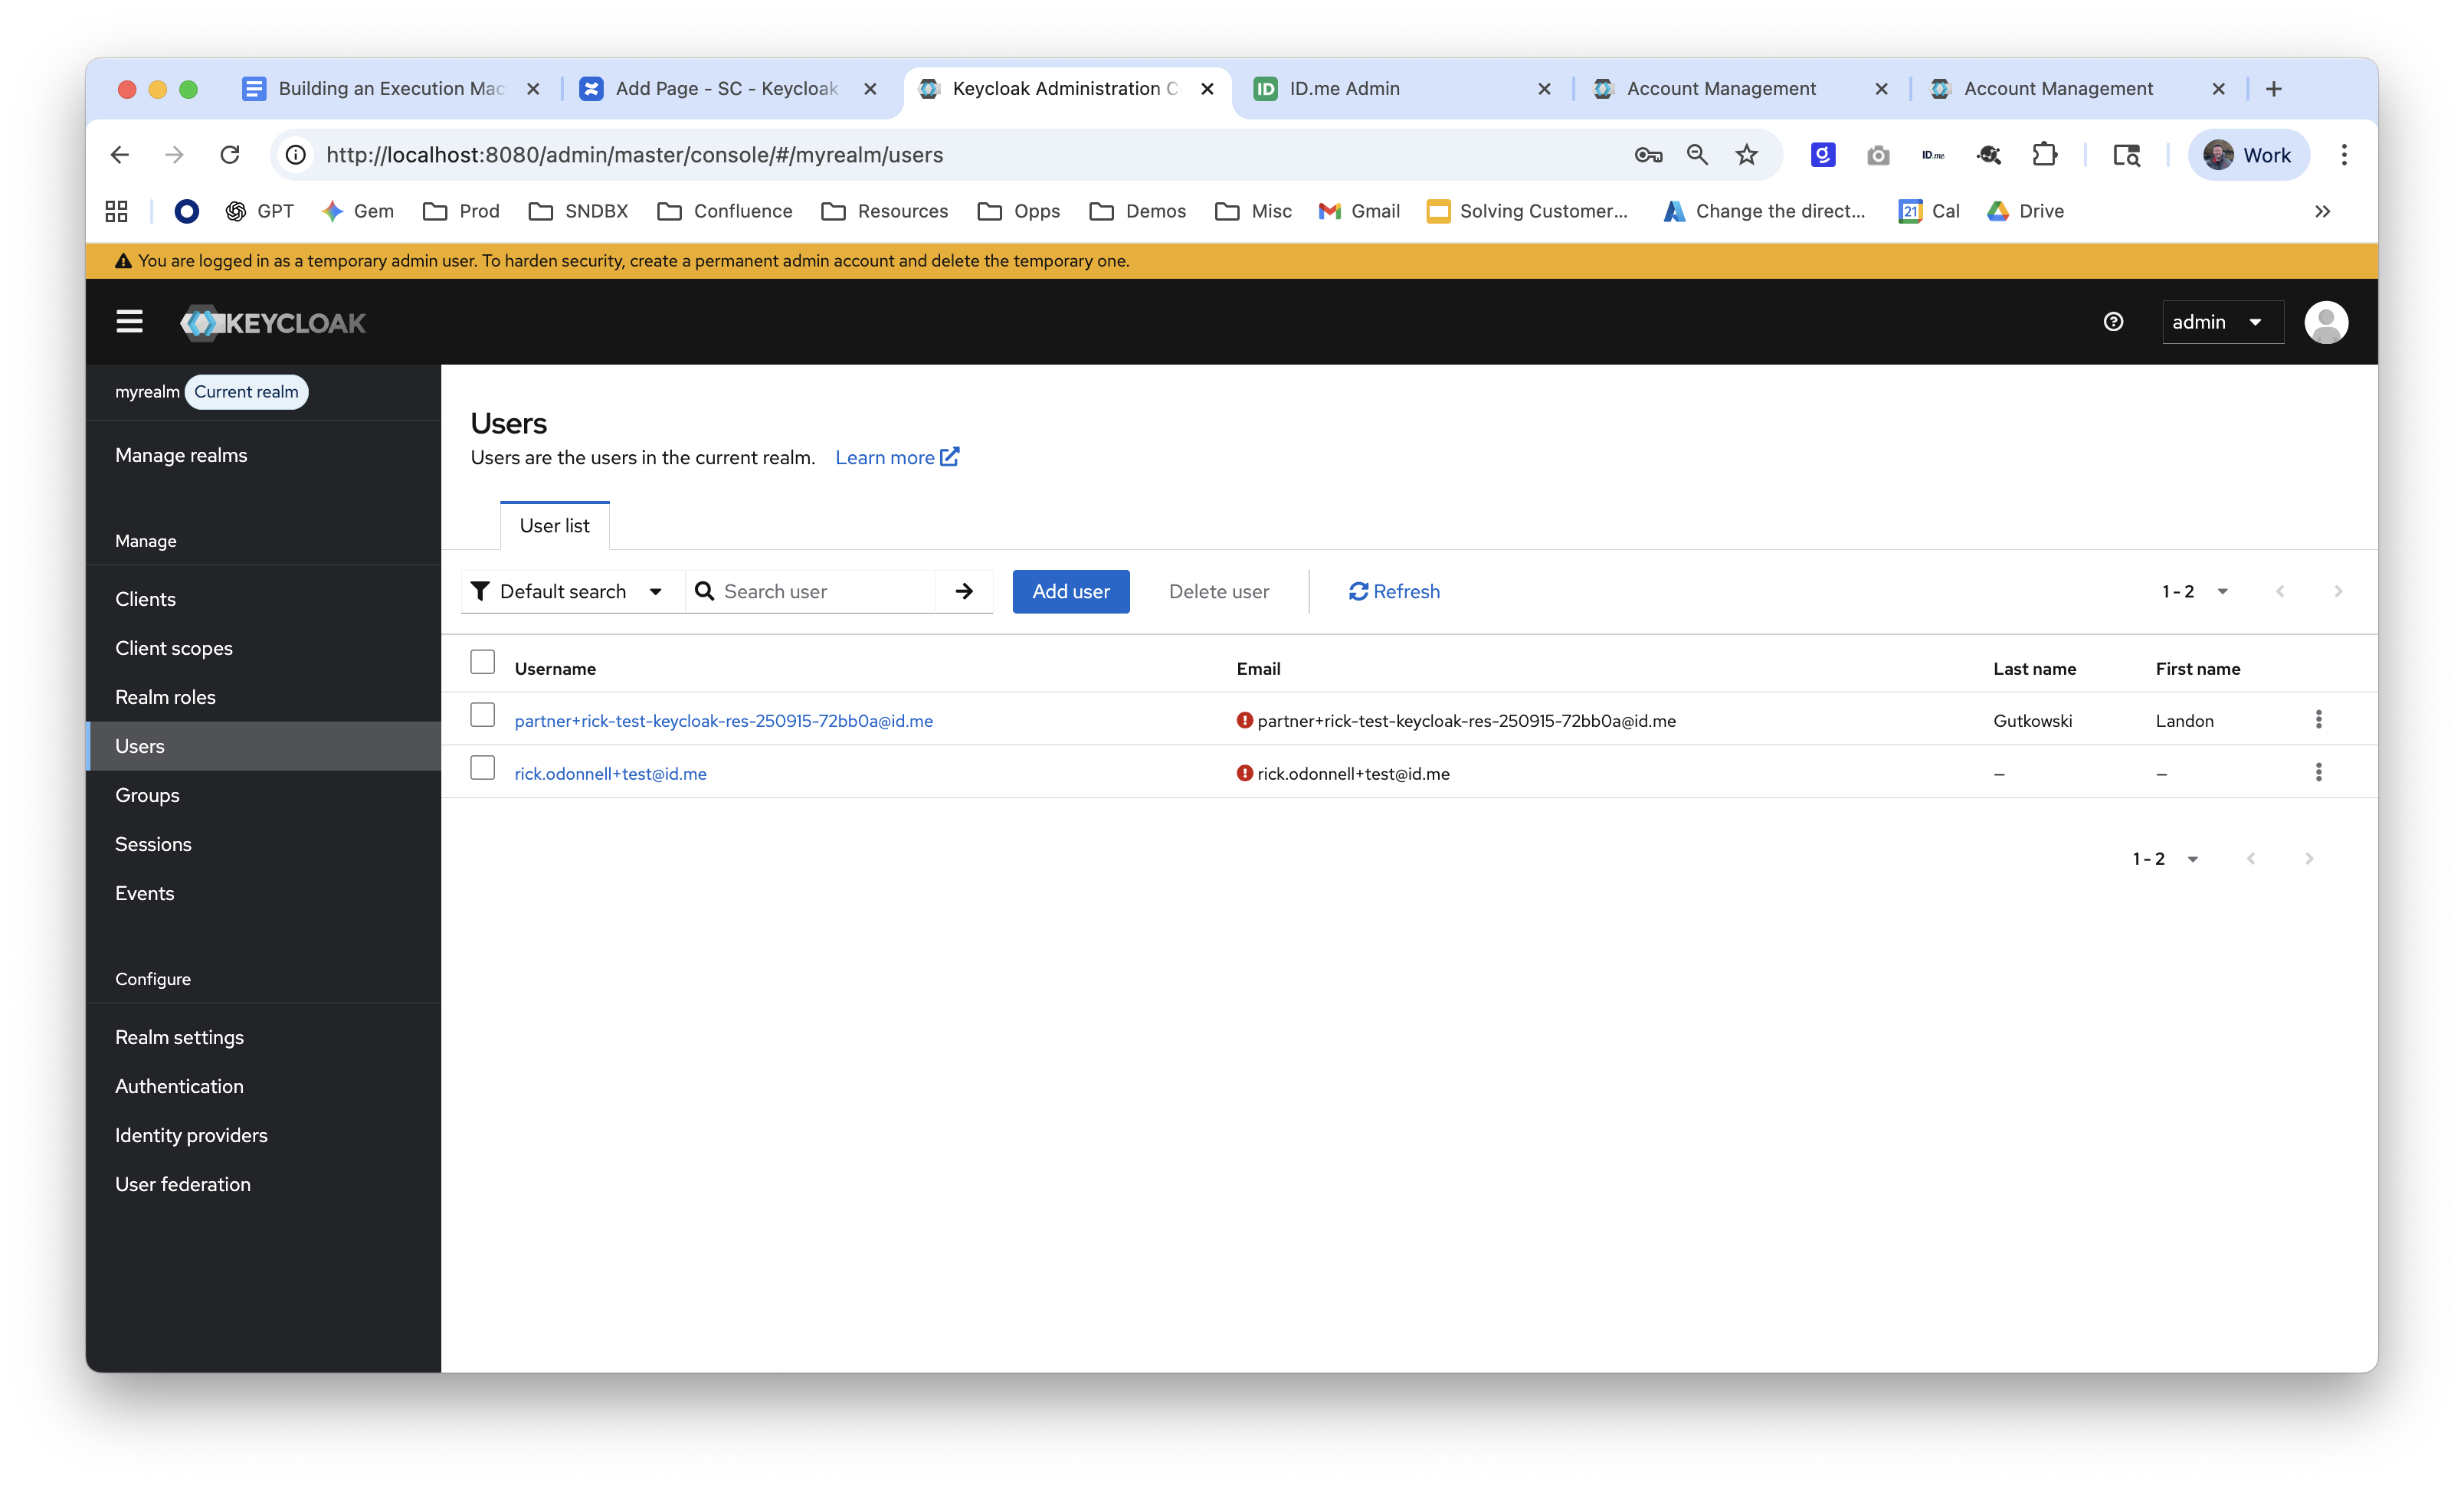
Create a realm
Configure ID.me as an OpenID Connect identity provider
Map user claims
Configure a target app
Configure ID.me
This portion of the configuration is completed by an ID.me Solution Consultant. You will need to provide the following information to complete the setup:
Redirect URIs
The Keycloak redirect URI typically follows this pattern:
http://localhost:8080/realms/<your realm name>/broker/idme-sandbox/endpoint
Ensure the port (8080) and domain match your specific Keycloak deployment. The idme-sandbox segment must match the Alias you configured in the Identity Provider settings.
Policy handle name
The ID.me policy handle (e.g., nist_aal2_ial2 or teacher). This value corresponds to the policy configured in your ID.me Consumer and should be included in the Scopes field in Keycloak.
Test the integration
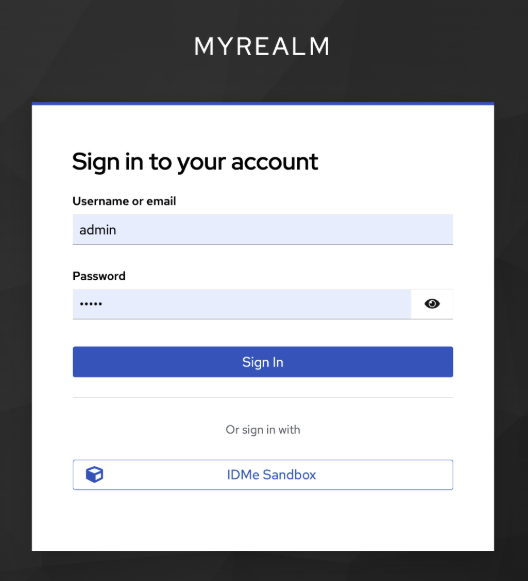
Option 1: Log in to the Keycloak account console
Option 2: Manually construct URL
Construct an authorization URL to test the flow with a tool like jwt.ms.
Copy the following URL pattern and replace the placeholders: